K8S Cluster with Raspberry Pi
Use:
- k3s as Lightweight Kubernetes.
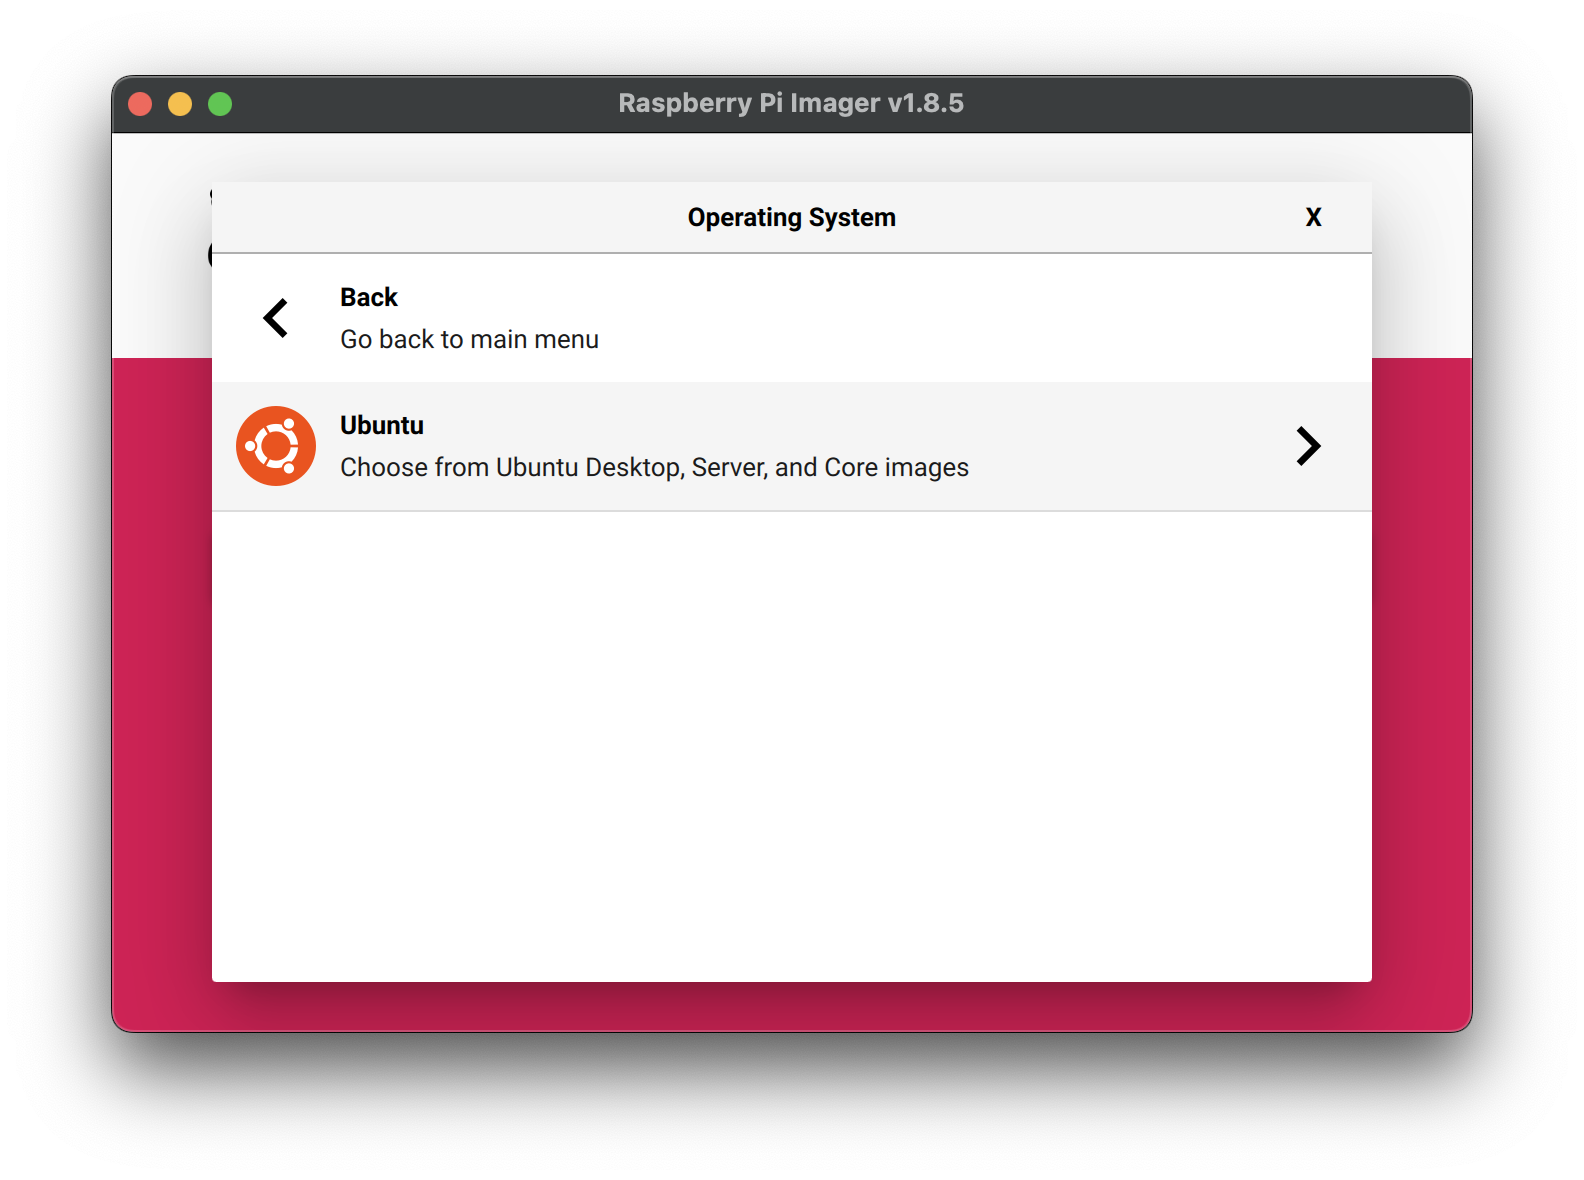
- Ubuntu Server 24.04 LTS as Operation System for Cluster Nodes.
Install OS
- Download Raspberry Pi Imager
- Install Raspberry Pi Imager
- Install latest Ubuntu to SD card (see: Install OS Details)
- Eject SD card
- Insert SD card to Raspberry Pi
- Apply Ansible Playbooks
WARNING: Стоит рассмотреть Alpine Linux как более легковесную OS, но при ее первичной настройке возникают проблемы. Было принято решение использовать более популярную OS с большим набором инструментария из коробки для поиска проблем. После того как K8S Cluster выйдет на стабильную работоспособность, мигрировать Cluster Nodes на Alpine Linux.
Install OS Details
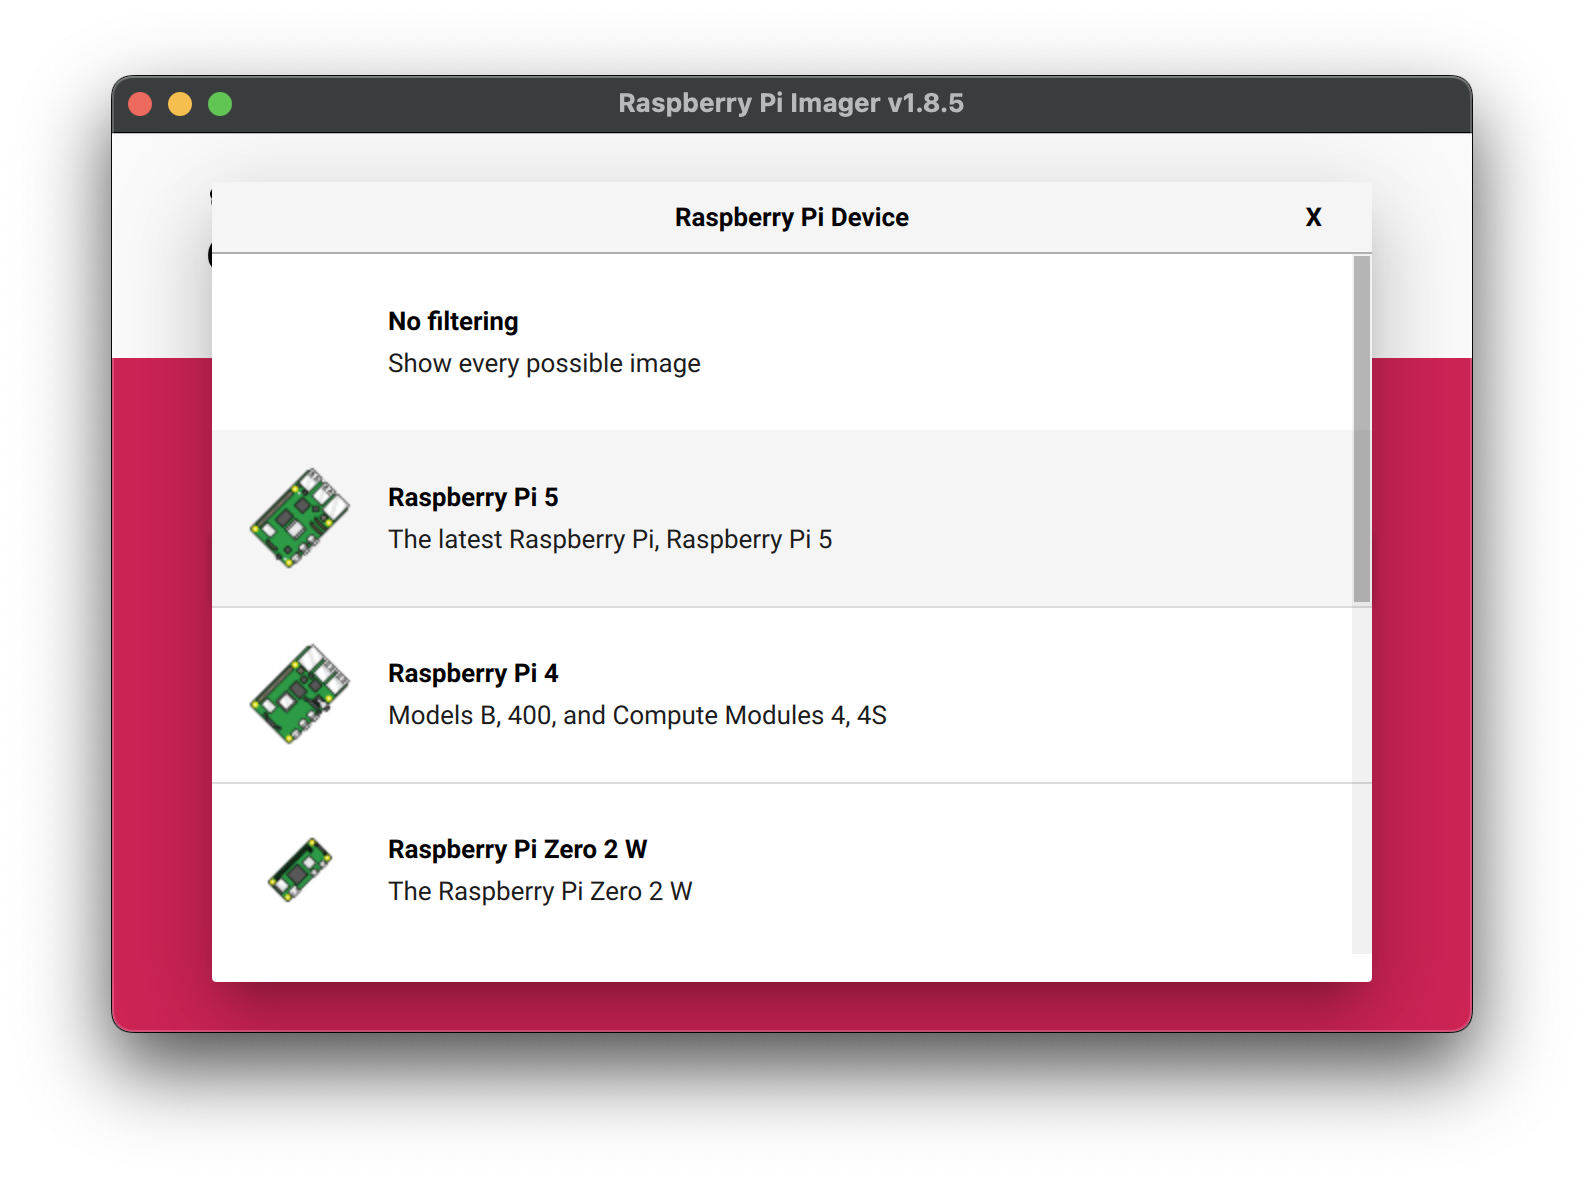
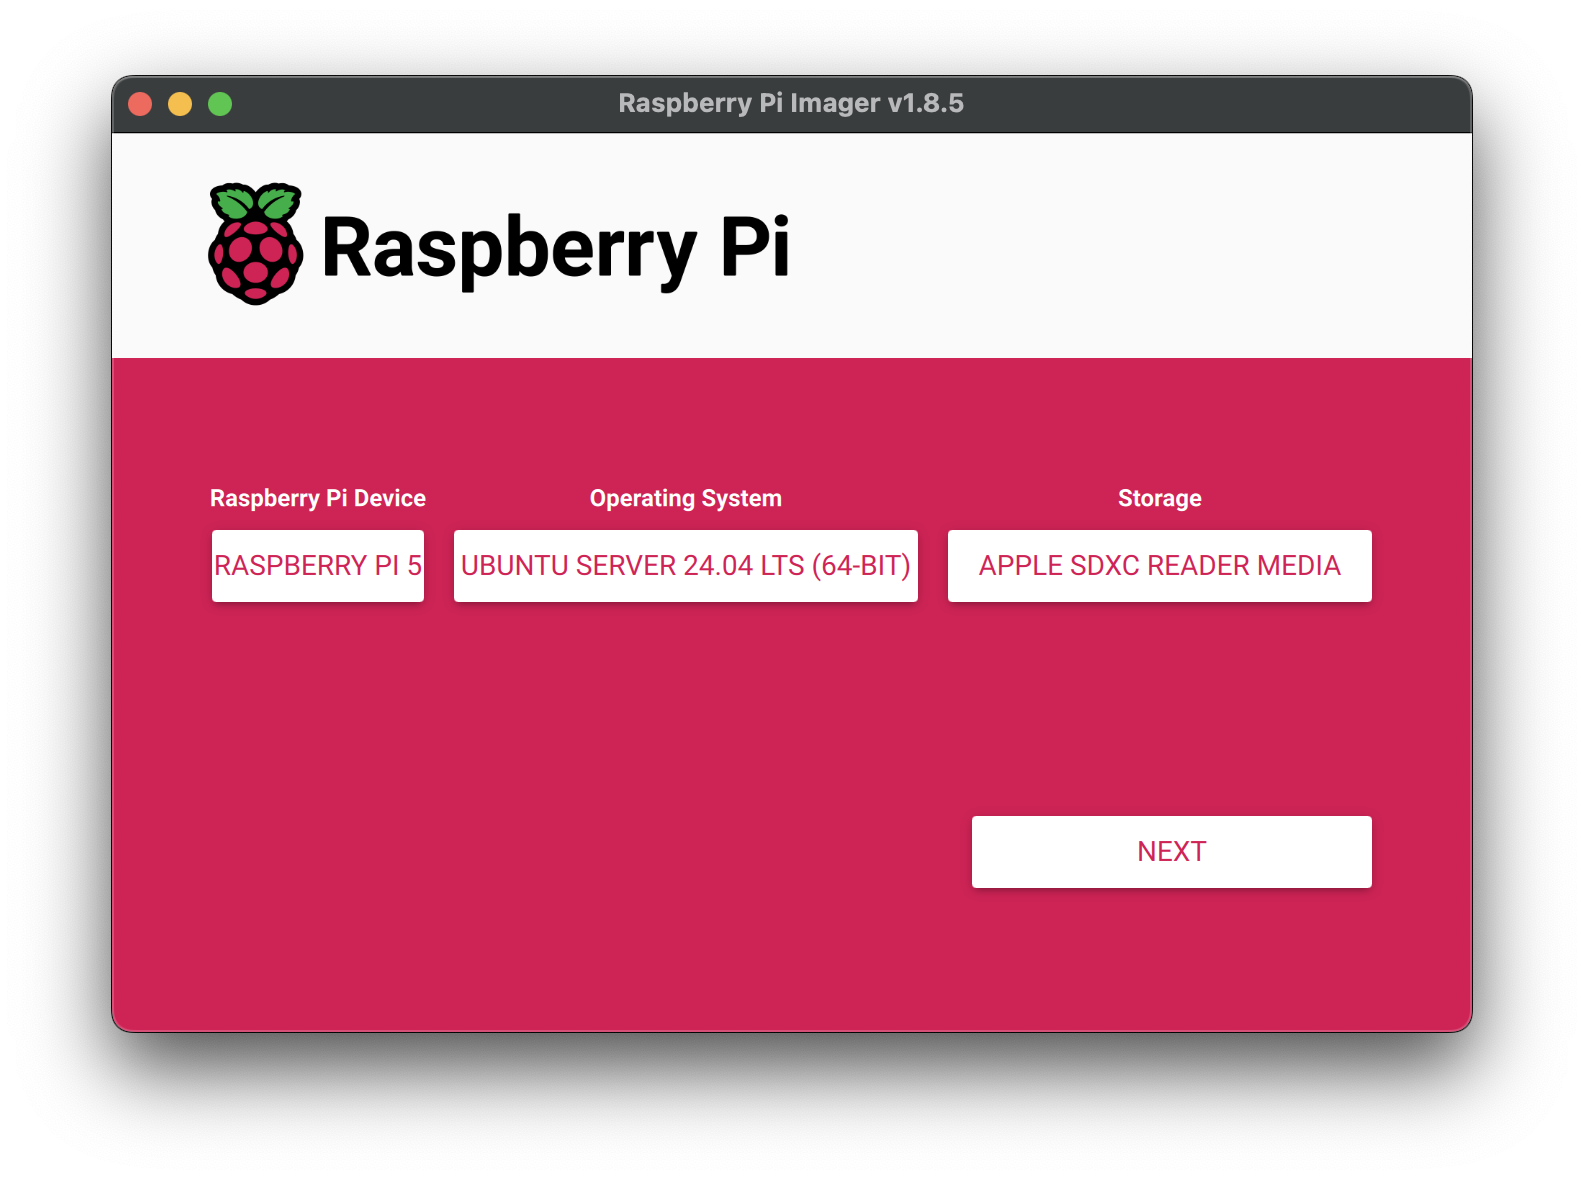
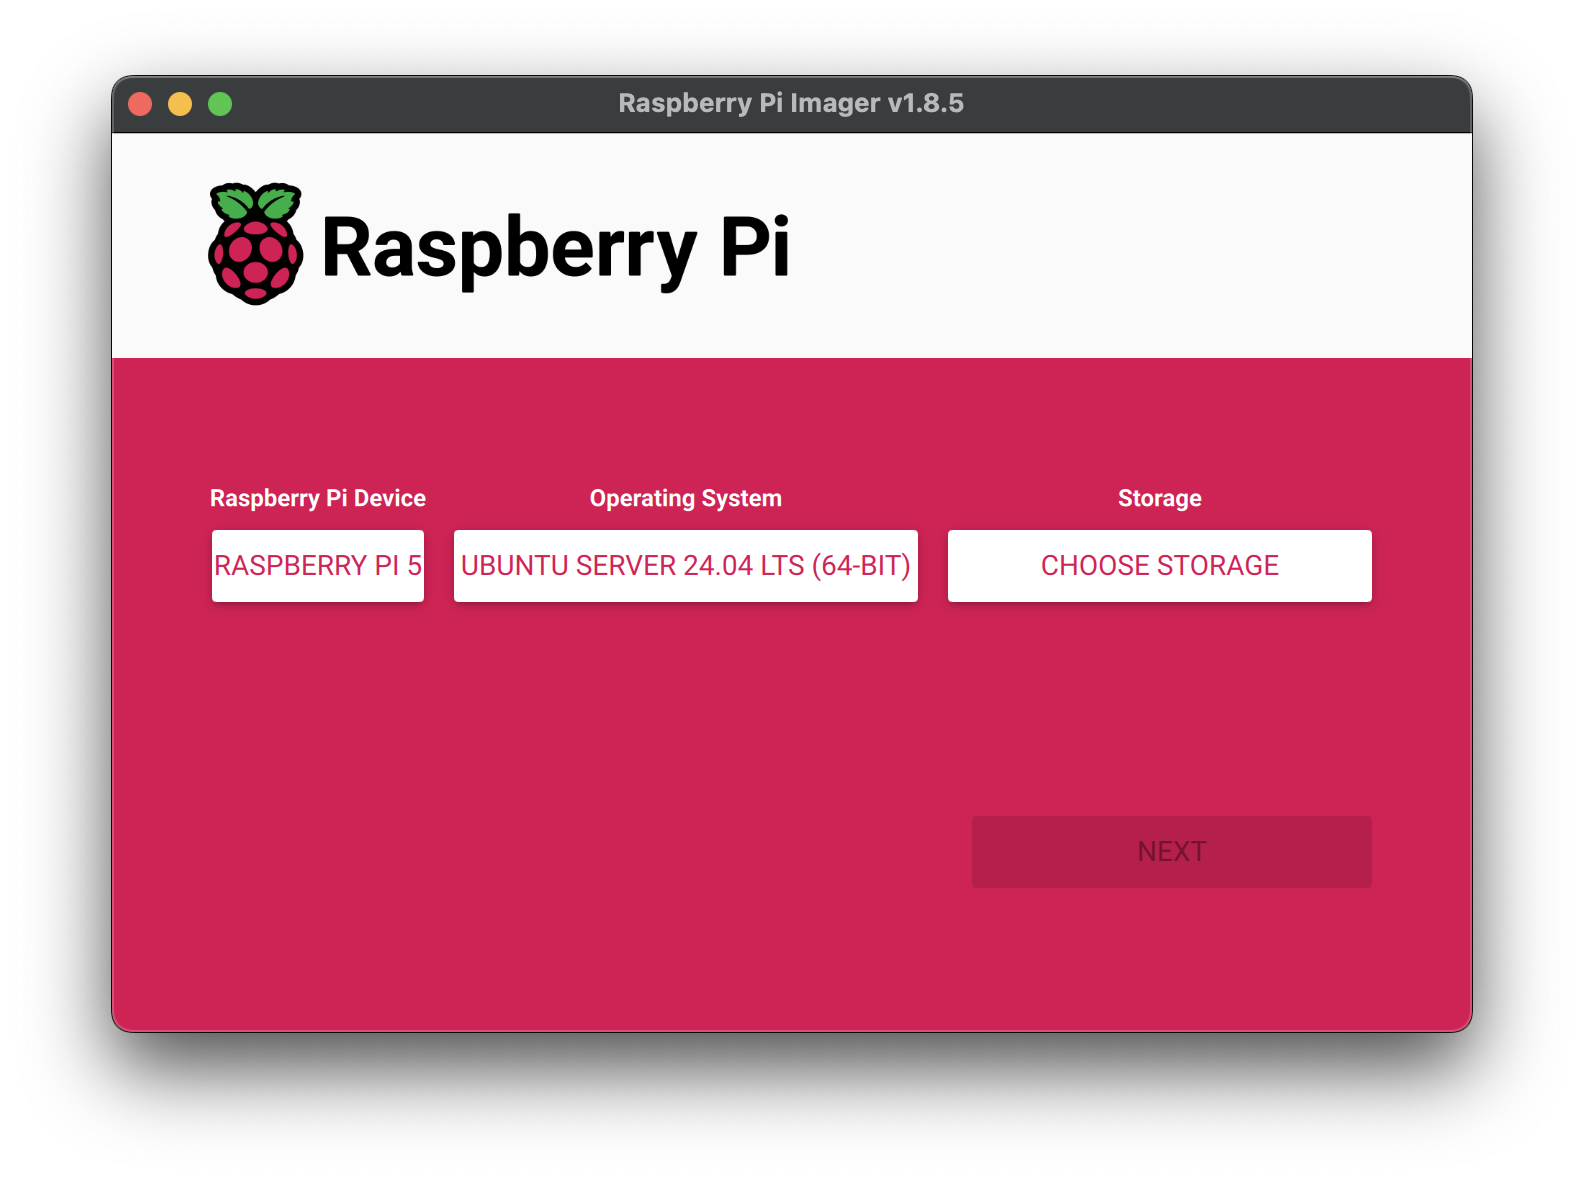
- Choose device:

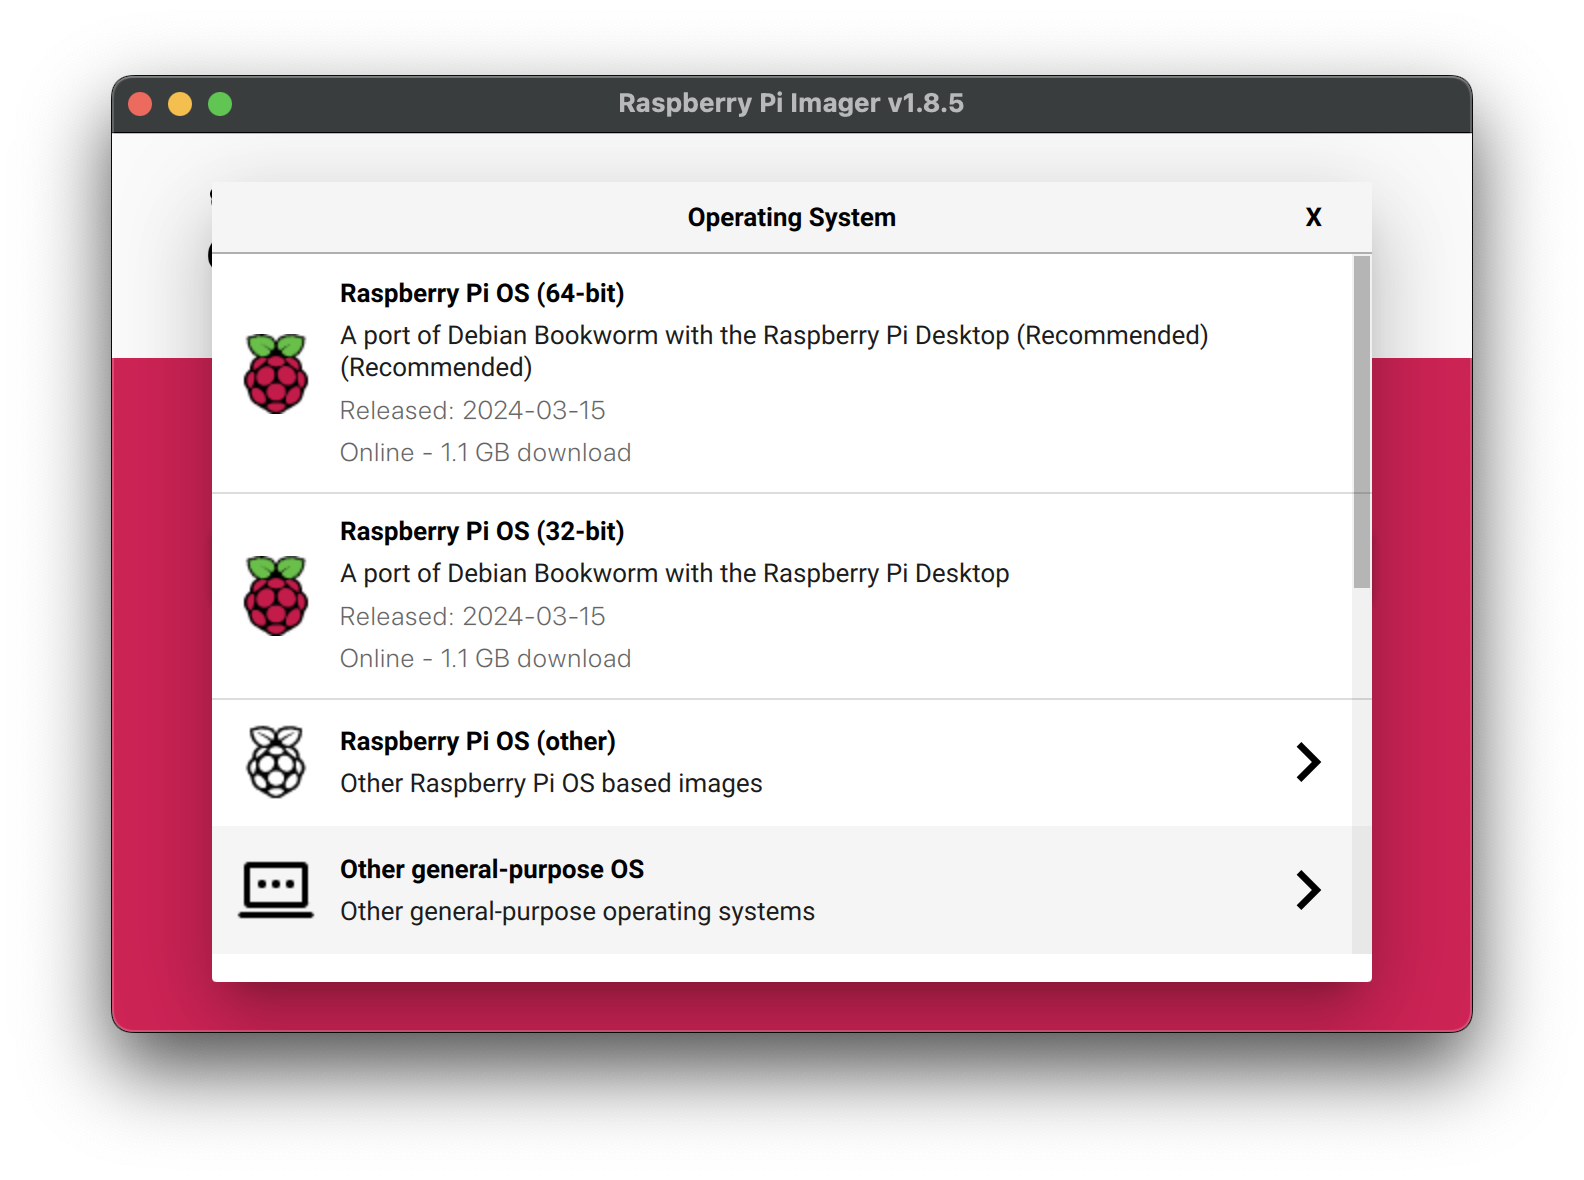
- Choose OS:
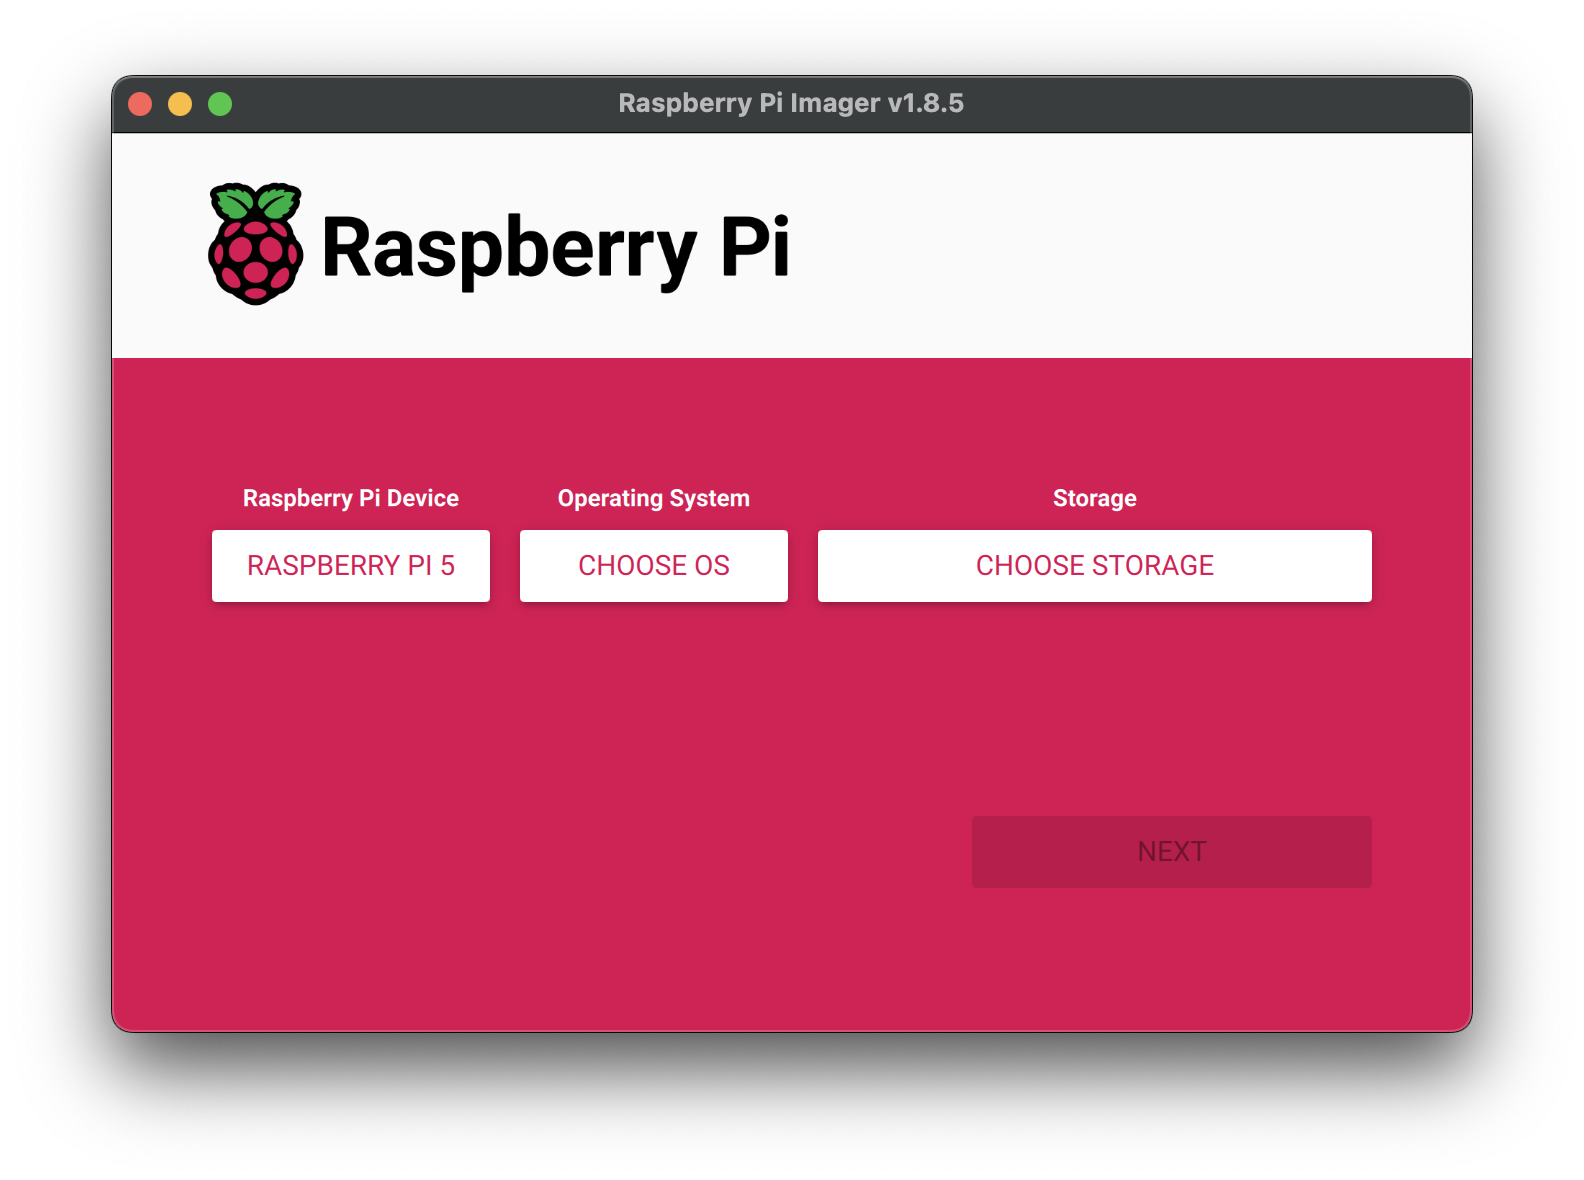

- Choose Storage:


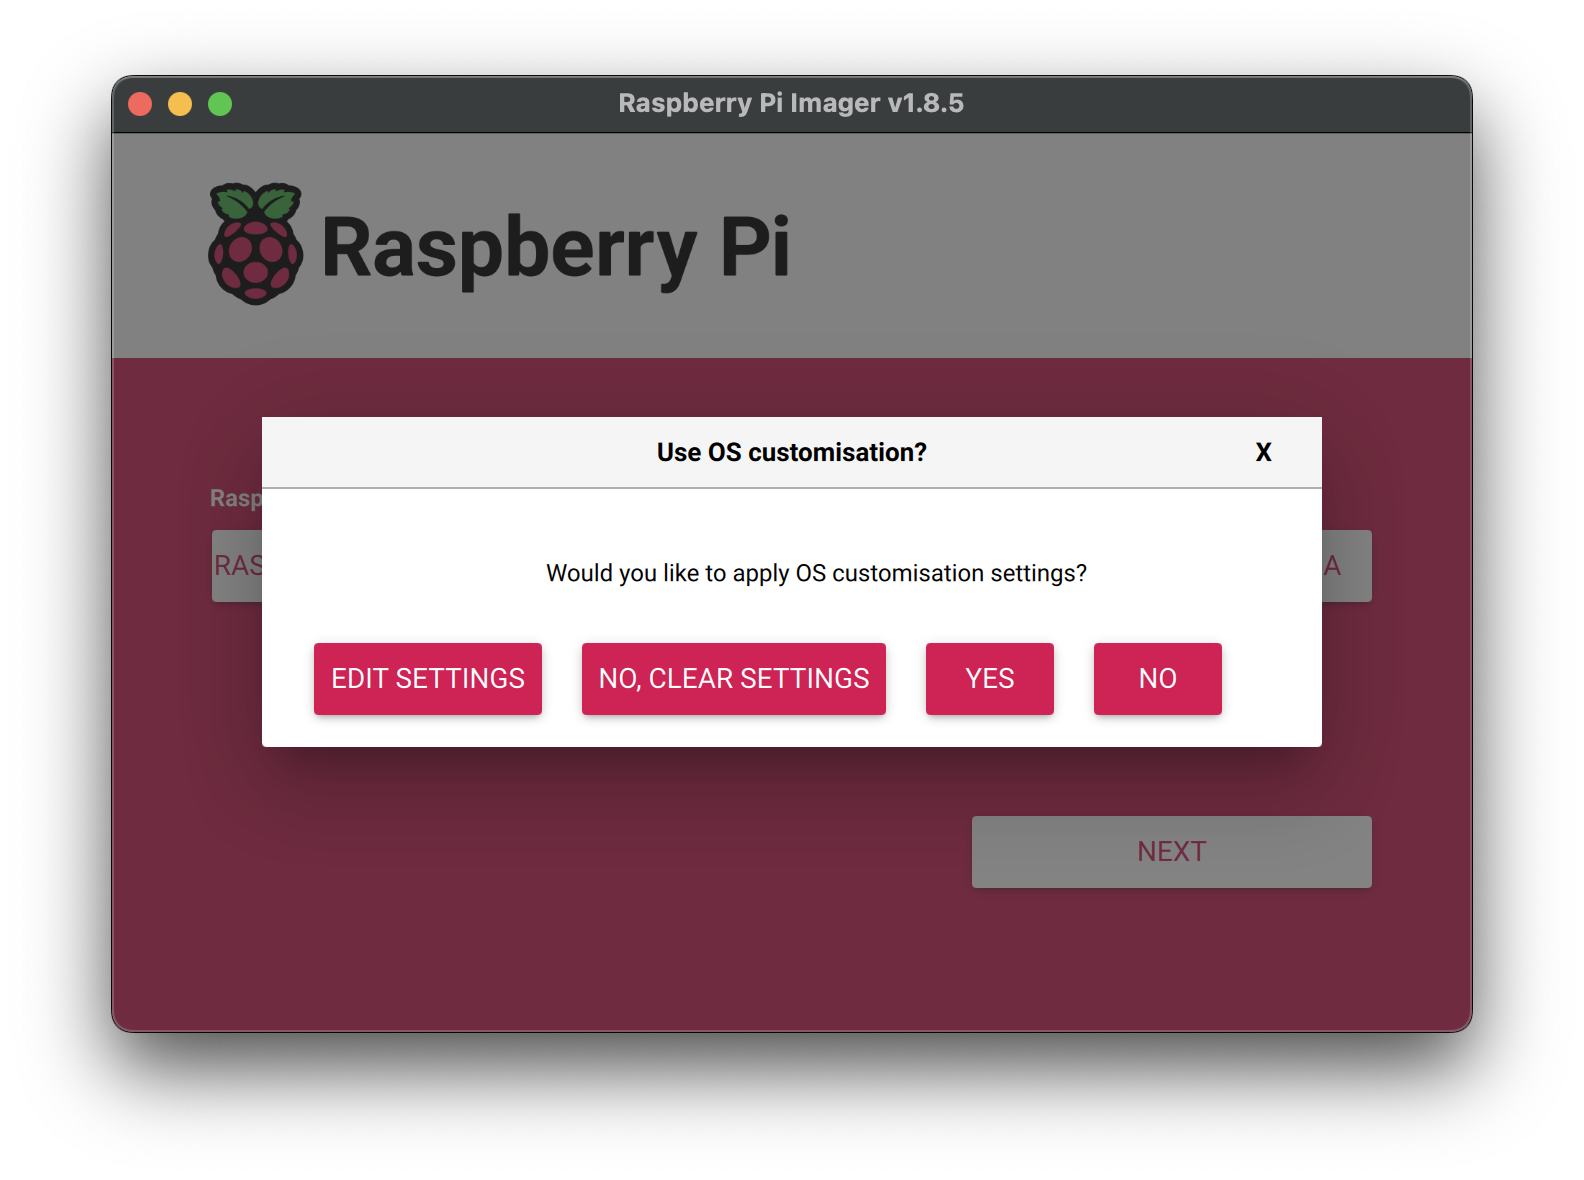
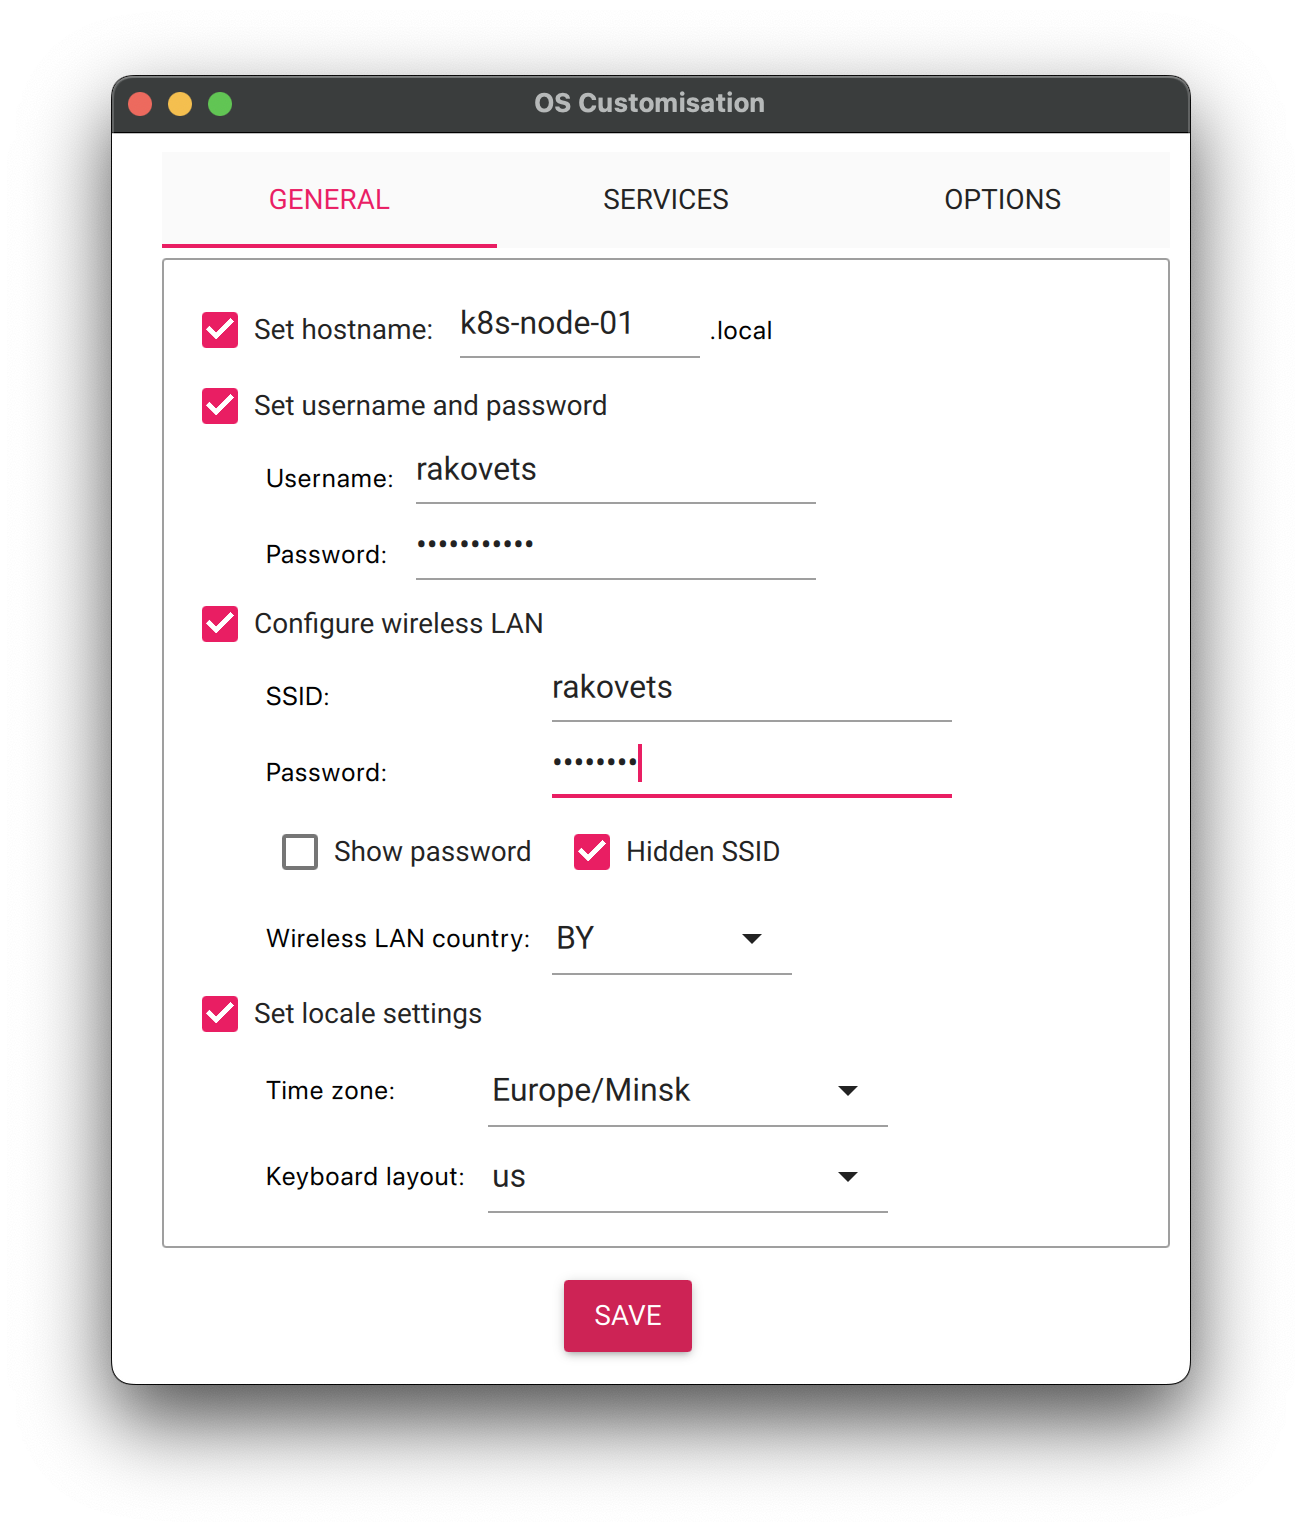
- Customize Install:

- Apply Writing:
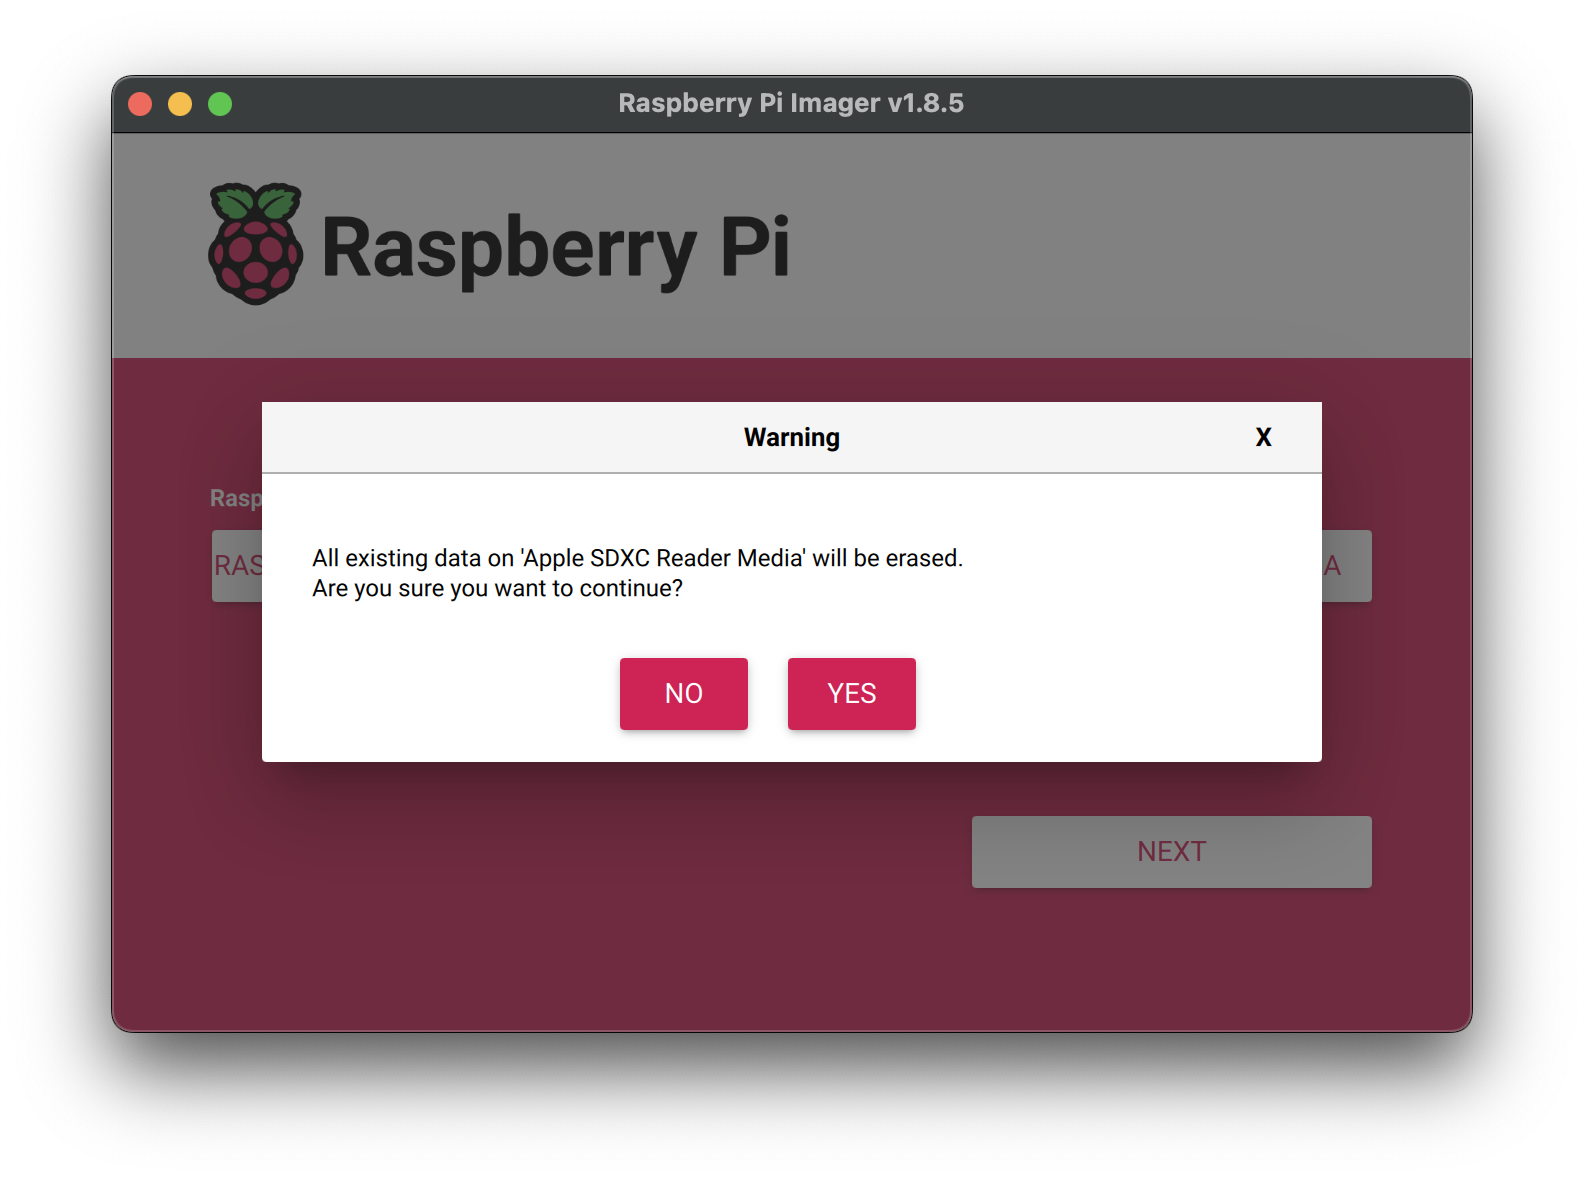

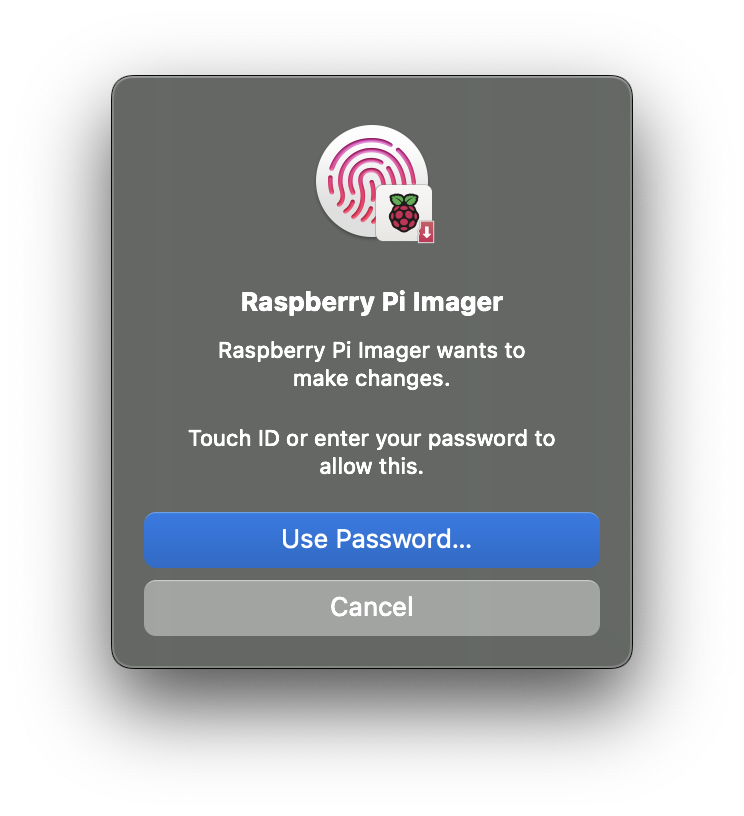
- Approve Writing:
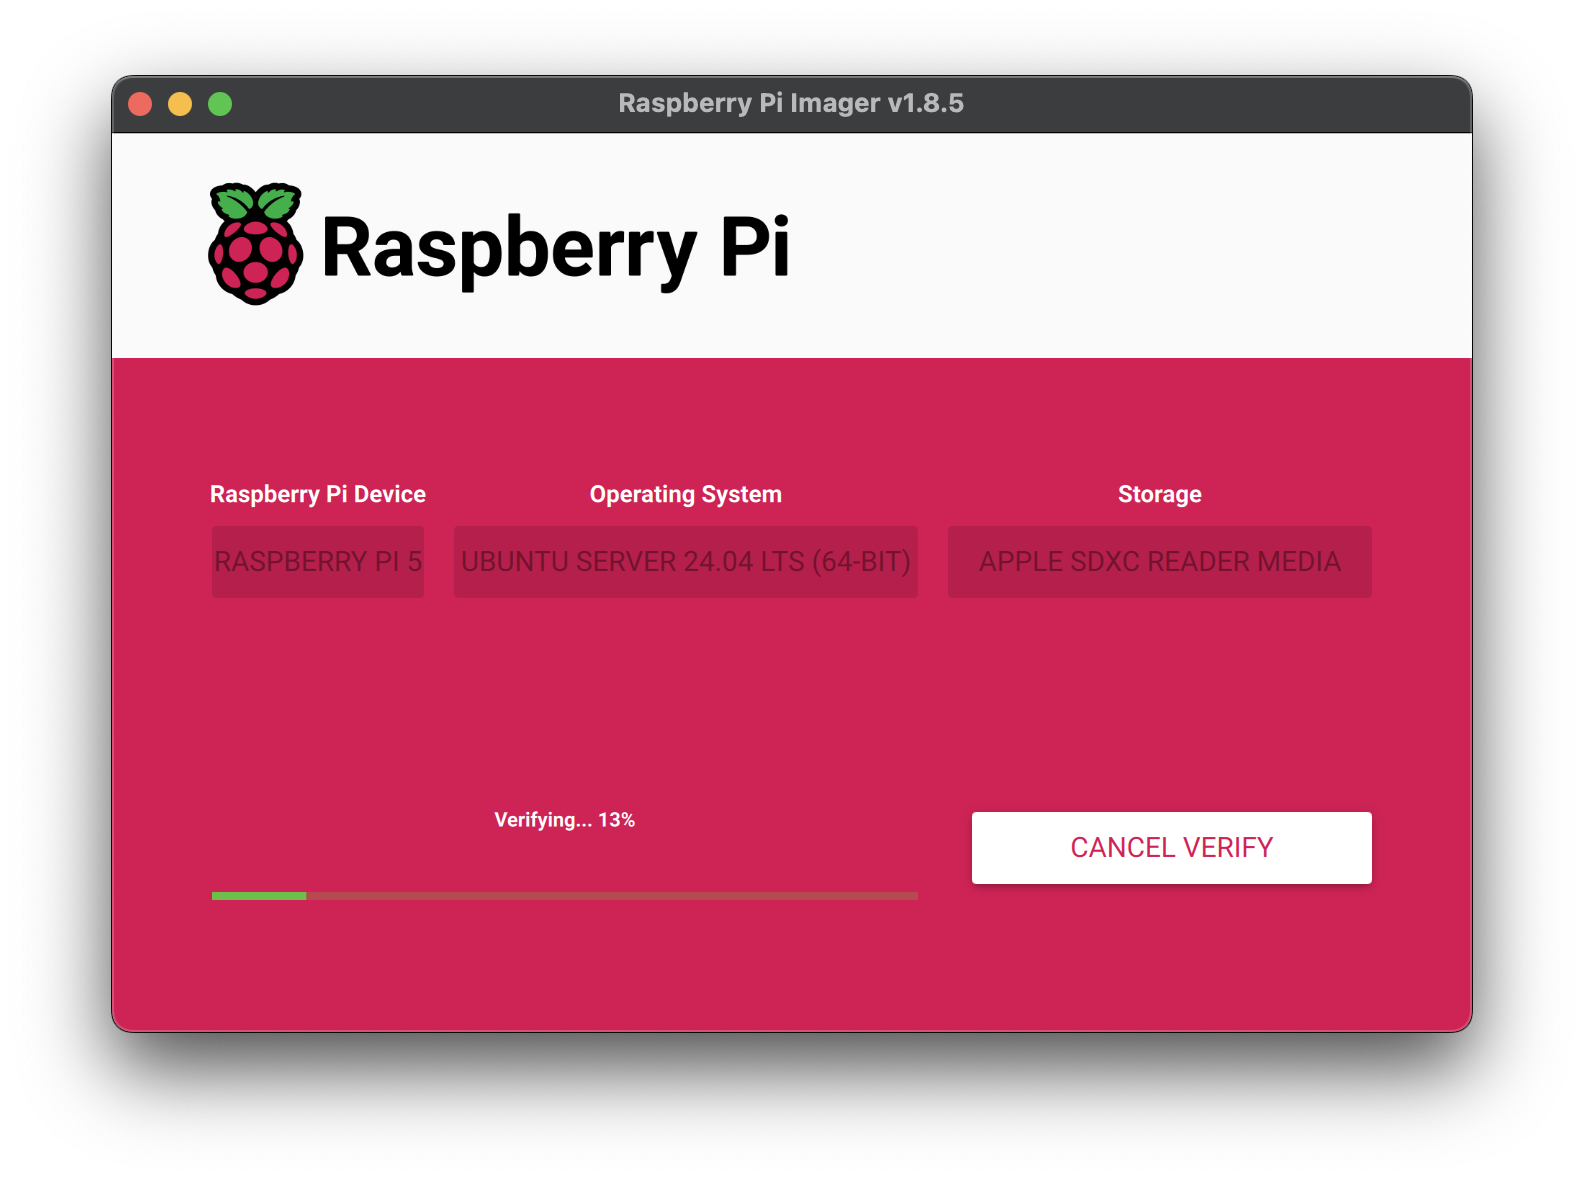
- Writing:

- Verifying:
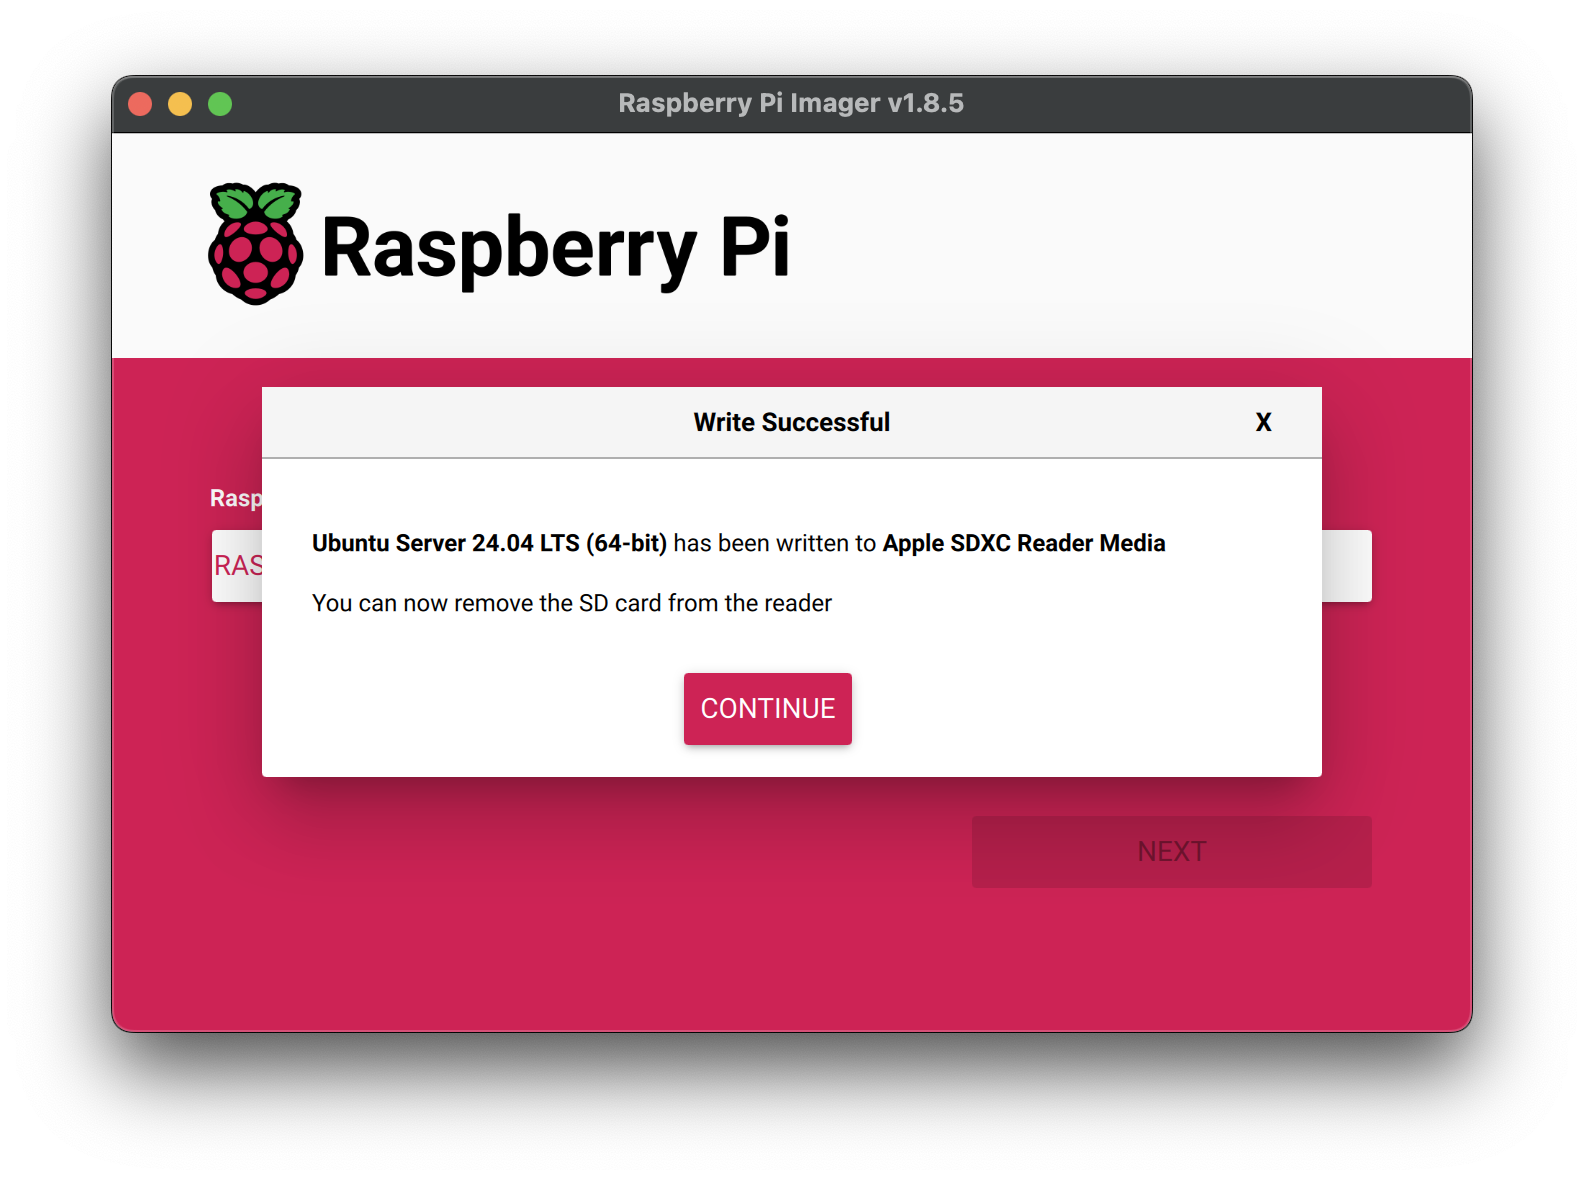
- End writing:
DRAFT: Install k3s
Install k3s:
curl -sfL https://get.k3s.io | \
  K3S_KUBECONFIG_MODE="644" \
  INSTALL_K3S_EXEC="server
    --flannel-backend=host-gw
    --tls-san=192.168.0.10
    --bind-address=192.168.0.10
    --advertise-address=192.168.0.10
    --node-ip=192.168.0.10
    --cluster-init" \
  sh -s - --docker
Uninstall k3s
/usr/local/bin/k3s-uninstall.sh
DRAFT: Setup OS
Step 1: Download Alpine Linux
First, download the Alpine Linux image. Navigate to Alpine Linux Downloads and select one of the aarch64 options.
rm -rf "/tmp/alpine-rpi/"
mkdir -p "/tmp/alpine-rpi/"
wget "https://dl-cdn.alpinelinux.org/alpine/v3.19/releases/aarch64/alpine-rpi-3.19.1-aarch64.tar.gz" \
  -O "/tmp/alpine-rpi/alpine.tar.gz"
Step 2: Extract Alpine Linux Image
Extract the downloaded Alpine Linux image to a directory.
mkdir -p "/tmp/alpine-rpi/image"
tar -xvzf "/tmp/alpine-rpi/alpine.tar.gz" -C "/tmp/alpine-rpi/image"
Step 3: Download Alpine Linux Headless Bootstrap (Optional)
If you’re opting for a headless setup (i.e., without a monitor, keyboard, or mouse, using SSH instead), download the headless.apkovl.tar.gz file from Alpine Linux Headless Bootstrap.
wget "https://is.gd/apkovl_master" -O "/tmp/alpine-rpi/headless.apkovl.tar.gz"
Step 4: Copy Alpine Linux Headless Bootstrap (Optional)
Copy the downloaded Alpine Linux Headless Bootstrap to a folder with image.
cp "/tmp/alpine-rpi/headless.apkovl.tar.gz" "/tmp/alpine-rpi/image/"
Step 5: Prepare the SD Card
- Insert the SD card into your computer.
- Open the terminal and execute
diskutil listto identify the SD card’s device path (e.g.,/dev/disk4).
diskutil list
WARNING: Search your SD card in list and use your disk name for following operation. For example /dev/disk4
- Carefully format the SD card to avoid data loss:
diskutil eraseDisk free EMPTY /dev/disk4
diskutil list
- Partition the SD card:
diskutil partitionDisk /dev/disk4 2 MBR fat32 ALPINE_BOOT 512M free ALPINE R
diskutil list
Step 6: Copy Alpine Linux Files
Copy the previously prepared Alpine Linux image files to the SD card using the command:
cp -r /tmp/alpine-rpi/image/ /Volumes/ALPINE_BOOT
diskutil unmountDisk /dev/disk4
Step 7: Raspberry Pi 5 Setup
- Remove the SD card from your computer and insert it into the Raspberry Pi.
- Connect the Raspberry Pi to your network with an Ethernet cable.
-
Power on the Raspberry Pi and find its IP address from your router’s interface. (e.g.
192.168.68.56) -
SSH into the Raspberry Pi using its IP address:
ssh root@[raspberry_pi_5_ip_address]. No password is required initially; press enter when prompted.
ssh root@192.168.0.99